Welcome back to the conclusion of our guide on using widgets inside of Profound UI. Catch up on the steps we covered in Part I here, and Part 2 here, and Part 3 here.
Topics: Profound UI, Prime UI
Customizing PrimeUI Widgets inside of ProfoundUI
Topics: Profound UI, Prime UI
Using PrimeUI’s Widget Library inside of Profound UI
Topics: Profound UI, Prime UI
Topics: Tips and Tricks, IBM i, Legacy Modernization, Profound UI, Profound Logic
How to set up a test instance to update your copy of Profound UI
Installing the latest version of your favorite software suite can be an exciting time as you eagerly await your chance to try out all the latest features and bug fixes. However, as anyone who has installed one of the latest windows updates can tell you, they can also be a stressful time as these updates give a new chance for bugs and rogue features to jump up and cripple your system.
Topics: Development, Profound UI
Profound Pro Tip: Painlessly Passing Custom Widget Input Data to the Server
Profound Pro Tips is a blog series focused on issues that our support team receives and questions our Profound Logic customers have. Have a topic you’d like to see a Profound Pro Tip for? Please contact our team or leave us a comment below. We’re here to help!
Today’s Topic: Painlessly Passing Custom Widget Input Data to the Server
Profound UI provides dozens of useful widgets for application displays, but sometimes developers find it better to write their own or adopt widgets from other frameworks. The Custom Widget API makes that possible, but a common question is: how do you pass input from a custom widget to the server-side program?
The answer is: by binding an input field and writing custom JavaScript to read that input. This blog illustrates how to handle bound input fields on custom widgets. First, we look at code for creating a simple color-picker widget. Next, we discuss a limited solution that requires modifying an “onsubmit” method of every screen using the custom widgets. Finally, we study a solution that automatically passes the input data to Profound UI without needing to modify any “onsubmit” events.
All code for this article is available for download. See links at the bottom.
Topics: RPG Development, Application modernization, IBM i applications, Node.js, Profound.js, IBM i, RPG, AS400 modernization, IBM i Modernization, Agile modernization, iSeries, Legacy Modernization, Profound UI, AS 400, AS_400, Profound Logic
Profound Pro Tip: Using Genie Customizations to Configure Subfiles
Profound Pro Tips is a blog series focused on issues that our support team receives and questions our Profound Logic customers have. Have a topic you’d like to see a Profound Pro Tip for? Please contact our team or leave us a comment below. We’re here to help!
Today’s Topic: Using Genie Customizations to Configure Subfiles
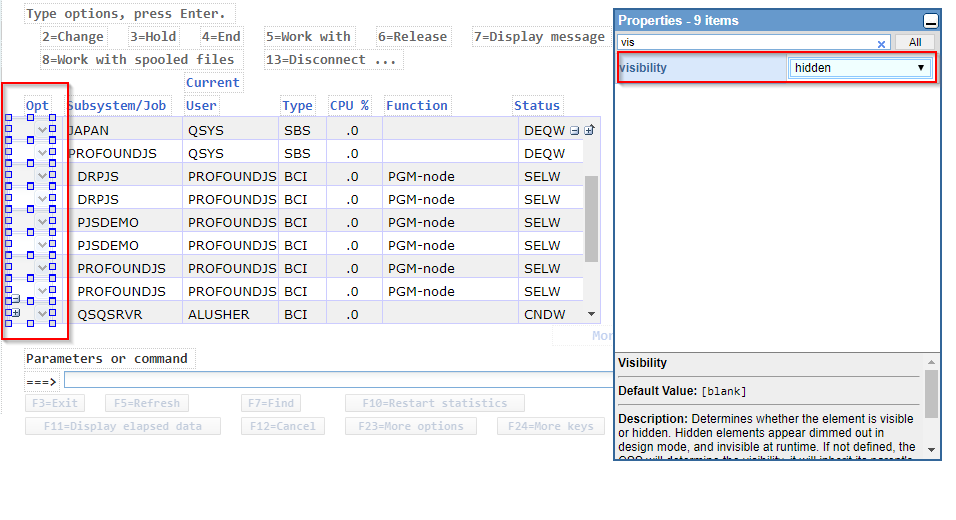
Genie does not contain a built in option to automatically adjust your subfiles, but it is possible to use Genie Customizations to manually configure your subfile. Below is an example on how to modify your subfiles to submit a response when clicking on a row.
Topics: RPG Development, Application modernization, IBM i applications, Node.js, Profound.js, IBM i, RPG, AS400 modernization, IBM i Modernization, Agile modernization, iSeries, Legacy Modernization, Profound UI, AS 400, AS_400, Profound Logic
Profound Pro Tip: Adding Image Uploads to Genie Screens
Profound Pro Tips is a blog series focused on issues that our support team receives and questions our Profound Logic customers have. Have a topic you’d like to see a Profound Pro Tip for? Please contact our team or leave us a comment below! We’re here to help!
Today’s Topic: Adding image upload to Genie screens
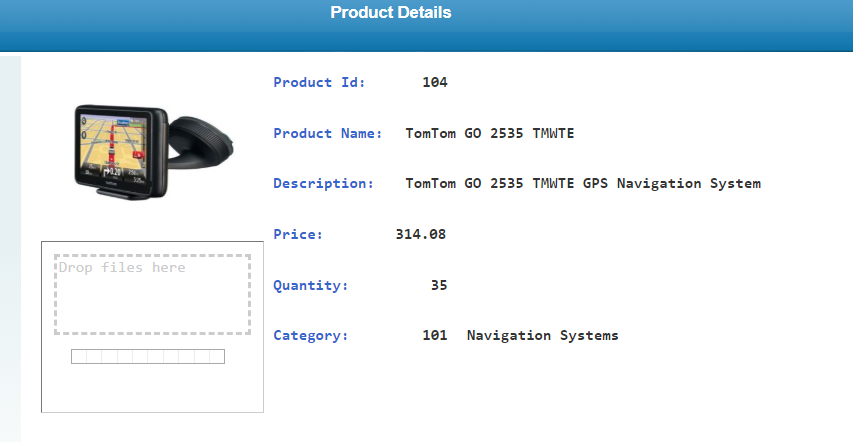
You know that you can rearrange and beautify your 5250 screens using the Genie editor. But did you know you can add images that change based on the on-screen information and even add the ability for a user to upload new images? This blog post will show you how to add an image and upload option to an item description page.
Topics: RPG Development, Application modernization, IBM i applications, Node.js, Profound.js, IBM i, RPG, AS400 modernization, IBM i Modernization, Agile modernization, iSeries, Legacy Modernization, Profound UI, AS 400, AS_400, Profound Logic
Profound Pro Tip: Set a Default Value for a Bound Field
Profound Pro Tips is a blog series focused on issues that our support team receives and questions our Profound Logic customers have. Have a topic you’d like to see a Profound Pro Tip for? Please contact our team or leave us a comment below! We’re here to help!
Today’s Topic: Set a Default Value for a Bound Field
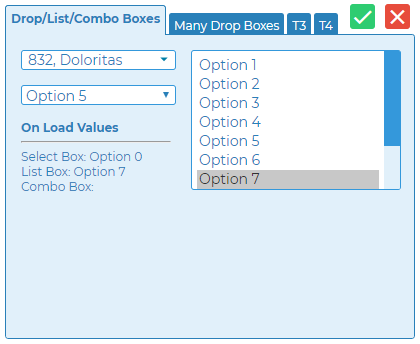
Depending on what you are looking to accomplish, the default value of a bound field can be set in numerous ways. In this Profound Pro Tip, we will be looking at setting the default value of a list box, combo box, and select box. Perhaps the easiest way to set a default value for a bound field is to do so in your RPG program, but this isn’t always practical or desirable for legacy programs. Here’s the alternatives this Profound Pro Tip will show, but remember, there’s plenty more ways to do this! Have an alternative way you like to use? Please let us and the community know in the comments below!
Topics: RPG Development, Application modernization, IBM i applications, Node.js, Profound.js, IBM i, RPG, AS400 modernization, IBM i Modernization, Agile modernization, iSeries, Legacy Modernization, Profound UI, AS 400, AS_400, Profound Logic


