


Profound Pro Tips is a blog series focused on issues that our support team receives and questions our Profound Logic customers have. Don't see your question/concern in Profound Pro Tips? Please feel free to contact our team or leave us a comment below.
Today’s Topic: Git Integration in NodeRun IDE
The NodeRun IDE now features seamless integration with Git, the popular free/open source version control system. NodeRun can now create Git repositories in the workspace, manage changes, make commits, integrate with GitHub, and more-- all without leaving the IDE!
This guide will walk you through:
- Creating a Git repository in the workspace
- Adding the workspace files to the repository
- Viewing file changes
- Committing changes
- Pushing the repository to GitHub
*This guide assume some knowledge of Git basics. For those who are new to Git, please read this article to help you get familiar with it. *
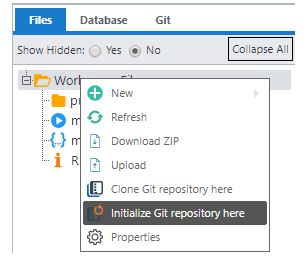
Creating a Git Repository in the WorkspaceA repository can be created in the workspace by right-clicking the Workspace Files directory and selecting Initialize Git repository here:
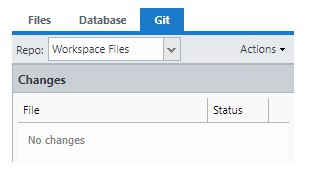
After the repository is created, the Git tab will display:
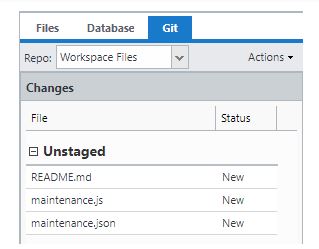
The IDE monitors for any changes to or addition/deletion of files in the workspace and presents a list of changed items on the Git tab. The Git tab also provides interfaces for viewing the actual file changes, committing, and other common actions.
In this case, we have just created a new repository, so the tab shows a list of all files in the workspace and lets us know that the files are new, meaning not yet tracked in the repository.
Adding the workspace Files to the RepositoryTo add all files to our new repository, use SHIFT+click to select all items on the Git tab, right-click, and select Stage Changes: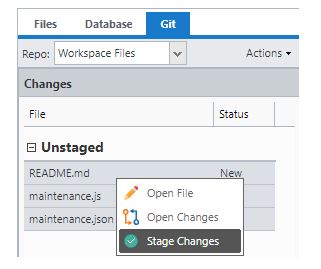
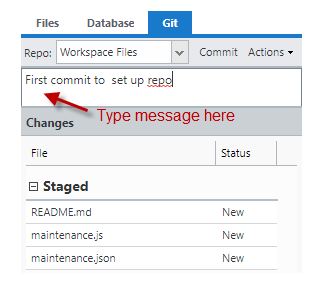
This adds all the files to the repository’s staging area. The IDE recognizes that we have staged changes for commit, so it shows an interface where we can enter a message and commit. To commit, type a message into the text area and press CTRL+Enter:
Committing all the files makes the repository’s working directory and staging area ‘clean’, so now the IDE will tell us that there are no changes to view:
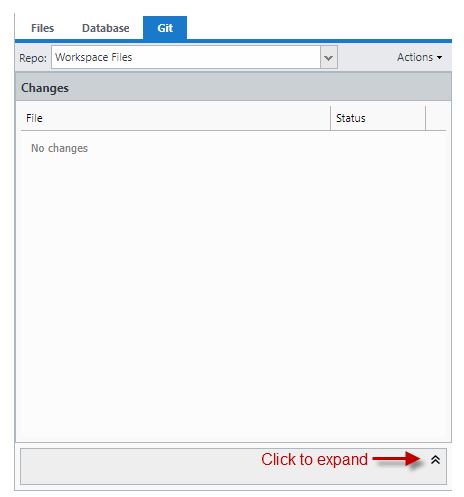
The IDE captures output from all Git actions and writes it into the output panel at the bottom of the Git tab. Expand the output panel to see the results from the Git commands we have run so far:
The output panel shows us the result of all Git commands we have run in our session:
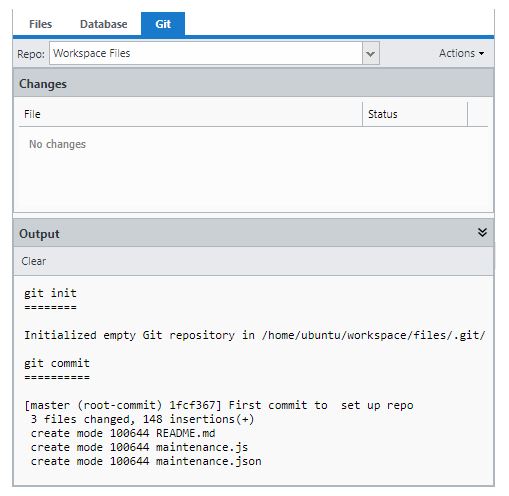
In this case everything is normal, so the results are not very interesting, but the output will show helpful information if there are any problems. The output panel can be collapsed when not needed – it will automatically expand if there are any problems.
Viewing File Changes
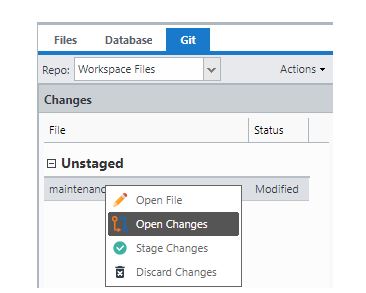
To view changes made to a file, right-click on a modified file in the Git tab and select Open Changes:
The IDE presents the changes in a split view:
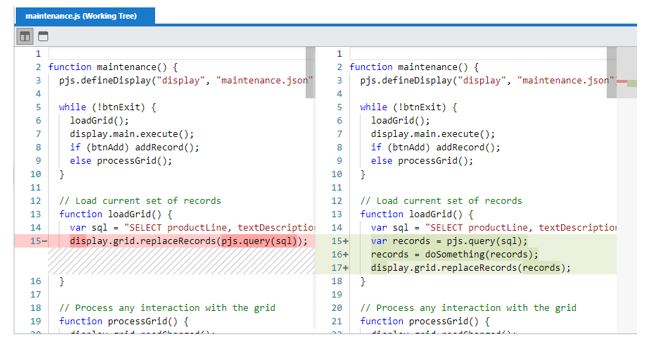
This makes it very easy to visualize file changes. The pane on the left side shows the version of the file stored in the repository, and the right side shows the current file contents in the working directory or staging area. If viewing the file in the working directory, you can even make further edits in the right pane.
Committing Changes
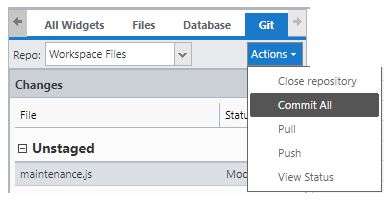
We’ve already looked at one way of doing things – staging, and then committing. It’s also possible to commit changes in one step, without staging first. To do that, use the Commit All option on the Actions drop down:
This brings up a dialog where we can enter a message and commit:
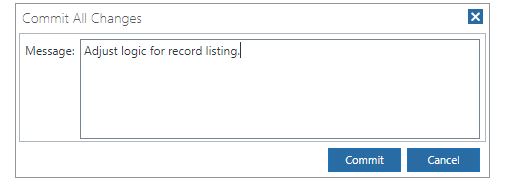
This method commits ALL changes (both staged and unstaged) at once.
Pushing the Repository to GitHub
Before you can push to GitHub, you’ll need to create a repository on GitHub and configure SSH key authentication. Creating a repository on GitHub is outside the scope of this guide. If you’re not familiar with the process, click here and here for general information about using SSH keys with GitHub.
You can use the NodeRun IDE’s built-in terminal emulator to create an SSH key pair by running the command ssh-keygen and pressing Enter at each prompt:
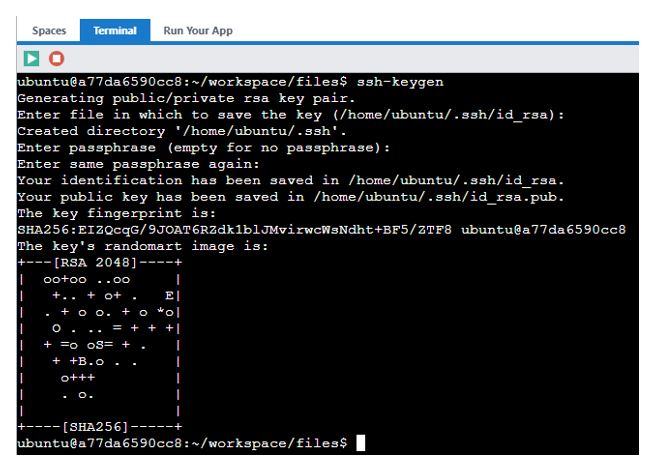
This creates an SSH key pair in your NodeRun account’s home directory. Your home directory is shared across all of your NodeRun workspaces, so you only need to create the key pair once.
Next, you’ll need to add the public key to your GitHub account. The command cat ~/.ssh/id_rsa.pub can be used to display your public key:
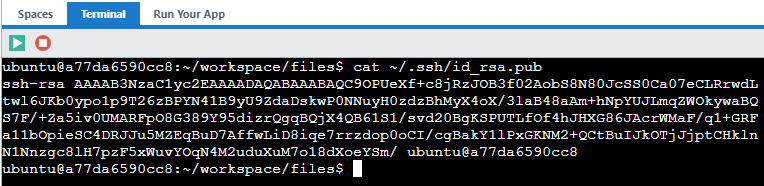
You can then copy/paste the key into your GitHub account settings. Once that is done, the NodeRun.com IDE will authenticate to GitHub automatically.
The next step is to set your GitHub repository as the remote for the local NodeRun repository and make the first push. That can be done using these commands, which are provided by GitHub when you create a repository:
git remote add origin git@github.com:<GitHub_User>/<Repository_Name>.git
git push -u origin master
For example, my GitHub user name is DavidRusso and the GitHub repository I want to push to is called db_maintenance, so I will run these commands:
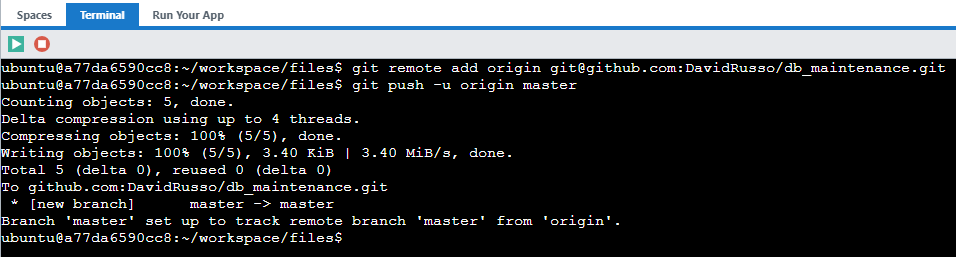
The contents of the repository on NodeRun.com are now pushed to GitHub.
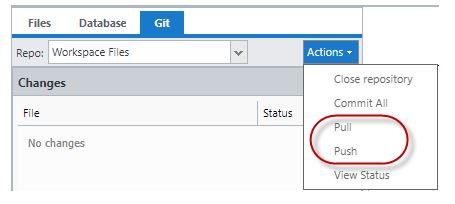
Once this initial setup is complete, you can push/pull to/from GitHub using the options in the Actions menu on the Git tab:
Happy Coding!
For more details about Git integration in the IDE, see the Profound Logic Documentation pages.
