


Profound Pro Tips is a blog series focused on issues that our support team receives and questions our Profound Logic customers have. Don't see your question/concern in Profound Pro Tips? Please feel free to contact our team or leave us a comment below.
Customization for any developer can make the difference between creating a functional application or creating an outstanding application. Our support team has received numerous questions on how to customize their tooltip widget, so this week we decided to give you an idea of how easy it is to customize it!
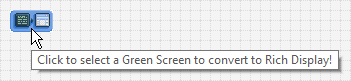 This is the standard tooltip provided by the tooltip property. Sometimes, this standard icon is not what you are looking for in a tooltip. This blog will show you how easy it is for you to customize your tooltip widget.
Step 1: What do you want your tooltip to be?
It’s possible to make nearly anything you’d like into a tooltip. Here are some examples:
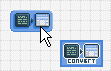
A different or larger image.
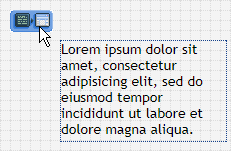 A wrapping Textbox.
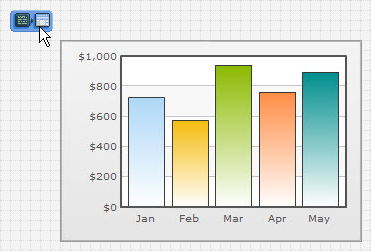 A chart or graph!
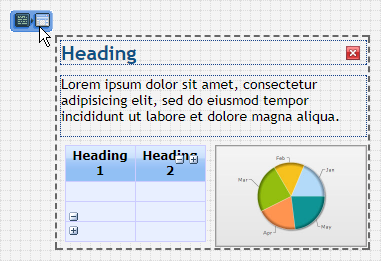 Or even a combination of options!
 For this example, we will be creating a new image tooltip widget to demonstrate how easy it is to customize.
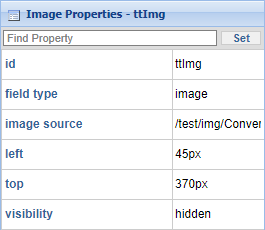
 If you want your image to be hidden, you will need to set the visibility property of the tooltip image widget to hidden.
**Make sure to give your tooltip image widget an ID (Ex. ttlmg) to make sure and identify which image you are using.
Step 2: Set up the onmouseover and onmouseout events of the Image Widget.
After selecting the element you would like the tooltip to appear for, navigate to the events section of the properties. You’ll then add the following code to the specified event.
Onmouseover Event:
// Use this to reveal the tooltip element next to the cursor.
// Get tooltip element.
var ttI = getObj("ttImg");
// Make the tooltip element visible.
ttI.style.visibility = "visible";
// Move the tooltip element to 10px right of cursor.
ttI.style.left = getMouseX(event) + 15 + 'px';
// Move the tooltip element to 15px below cursor.
ttI.style.top = getMouseY(event) + 15 + 'px';
Onmouseout Event:
// Use this if you’d like the tooltip to disappear when the mouse leaves the
// element.
// Get tooltip element.
var ttI = getObj("ttImg");
// Hide the tooltip element.
ttI.style.visibility = "hidden";
// Move the tooltip element off screen.
ttI.style.left = "-150px";
Onmousemove Event:
// Use this if you want the tooltip to follow the cursor while moving over
// the element.
// Get tooltip element.
var ttI = getObj("ttImg");
// Move the tooltip element to 10px right of cursor.
ttI.style.left = getMouseX(event) + 15 + 'px';
// Move the tooltip element to 15px below cursor.
ttI.style.top = getMouseY(event) + 15 + 'px';
And you’re done! You can check out how your tooltip turned out using Launch > Launch Preview
in the Visual Designer!
Extras: Some additional snippet examples.
Same Source, But Bigger – Onmouseover Event:
// Use this if you want the tooltip to get its image source from the element.
// Get tooltip element.
var ttI = getObj("ttImg");
// Set tooltip image source to image source of element.
ttI.src = this.src;
// Scale image to 150px width.
ttI.style.width = 150 + 'px';
// Scale image to 150px height.
ttI.style.height = 150 + 'px';
Layout Tooltips – Overview:
If your tooltip has multiple things in it or you want the tooltip widget to size automatically to the size of a layout, this can be done! Just add your tooltip widget(s) to a Layout widget, give it a unique ID, and then add the code from the example, customizing it as needed. Make sure to remove the Visibility property of any elements inside the tooltip layout so that they will inherit the layout’s visibility. This can be done by right-clicking the property and selecting Remove Property Value.
Learn how to Make Modern Applications That You Will Love With IBM i RPG and Node.js with Profound UI and Profound.js! This on-demand webinar was hosted by Alex Roytman and Liam Allan | Watch the replay today!
